If you are running a production installation of Jenkins on a Windows box, it is essential to have it running as a Windows service. This way, Jenkins will automatically start whenever the server reboots, and can be managed using the standard Windows administration tools.
One of the advantages of running Jenkins on an application server such as Tomcat is that it is generally fairly easy to configure these servers to run as a Windows service. However, it is also fairly easy to install Jenkins as a service, without having to install Tomcat.
Jenkins has a very convenient feature designed to make it easy to install Jenkins as a Windows servers. There is currently no graphical installer that does this for you, but you get the next best thing—a web-based graphical installer.
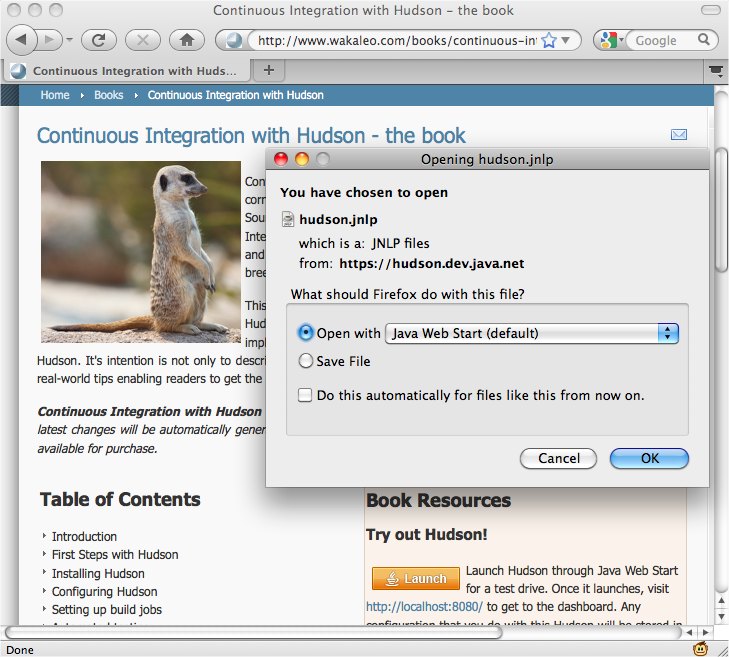
First, you need to start the Jenkins server on your target machine. The simplest approach is to run Jenkins using Java Web Start (see Figure 3.4, “Starting Jenkins using Java Web Start” ). Alternatively, you can do this by downloading Jenkins and running it from the command line, as we discussed earlier:
C:\jenkins>
			java -jar jenkins.war
This second option is useful if the default Jenkins port (8080) is already being used by another application. It doesn’t actually matter which port you use—you can change this later.
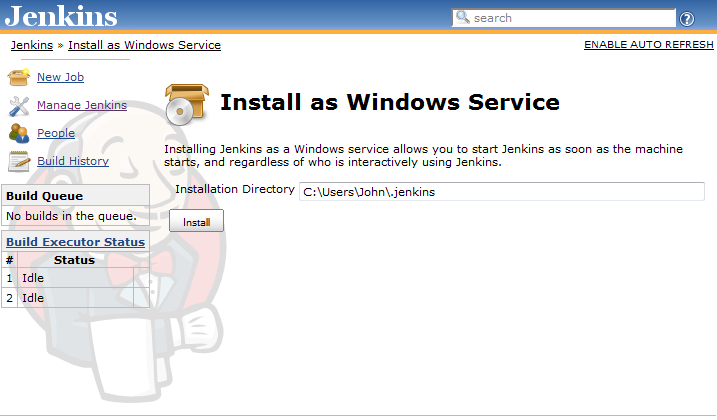
Once you have Jenkins running, connect to this server and go to the Manage Jenkins screen. Here you will find an Install as Windows Service button. This will create a Jenkins service on the server that will automatically start and stop Jenkins in an orderly manner (see Figure 3.5, “Installing Jenkins as a Windows service” ).
Jenkins will prompt you for an installation directory. This will be
the Jenkins home directory (
JENKINS_HOME
). The default
value is the default
JENKINS_HOME
value: a directory
called
.jenkins
in the current user’s
home directory. This is often not a good choice for a Windows
installation. When running Jenkins
on Windows XP, you should avoid
installing your Jenkins home directory anywhere near your
C:\\Documents And Settings
directory—not only
is it a ridiculously long name, the spaces can wreak havoc with your
Ant
and Maven builds and any
tests using classpath-based resources. It is
much
better to use a short and sensible name such as
C:\Jenkins
. The Vista and Windows 7 home
directory paths like
C:\Users\john
will also work fine.
A short home directory path is sometimes required for other reasons,
too. On many versions of Windows (Windows XP,
Windows Server 2003,
etc.),
file path lengths are limited to around 260 characters. If you combine a
nested Jenkins work
directory and a deep class path, you can often
overrun
this, which will result in very obscure build errors. To
minimize the
risks of over-running the Windows file path limits, you need to
redefine
the
JENKINS_HOME
environment variable to point to a
shorter path, as we discussed above.
This approach won’t always work with Windows Vista or Windows 7. An
alternative strategy is to use the
jenkins.exe
program that the Web Start
installation process will have installed in the directory you specified
above. Open the
command line prompt as an administrator (right-click, “Run
as administrator”) and run the
jenkins.exe
executable with the
install
option:
C:\Jenkins>
			jenkins.exe install
This basic installation will work fine in a simple context, but you
will often need to fine-tune your service. For
example, by default,
the
Jenkins service will be running under the local System account. However,
if you are using
Maven, Jenkins will need an
.m2
directory and a
settings.xml
file in the home directory.
Similarly, if you are using Groovy, you might need a
.groovy/lib
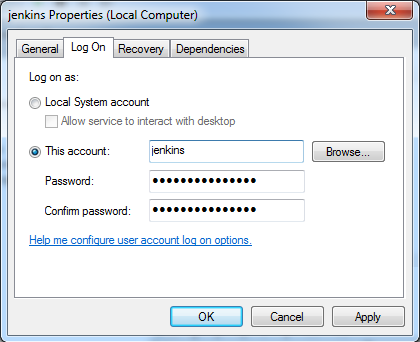
directory. And so on. To allow
this, and to make testing your Jenkins install easier, make sure you run
this service
under a real user account with the correct development
environment set up (see
Figure 3.6, “Configuring the Jenkins Windows Service”
). Alternatively, run the
application as the system user, but use the System Information page in
Jenkins to check the
/jenkins-guide-complet
directory, and place any files that must be placed in the user home
directory here.
You configure the finer details of the Jenkins service in a file
called
jenkins.xml
, in the same
directory as your
jenkins.war
file.
Here you can configure (or reconfigure) ports, JVM options, an the
Jenkins
work directory. In the following
example, we give Jenkins a bit more
memory and get it to run on port 8081:
<service>
			<id>jenkins</id>
			<name>Jenkins</name>
			<description>This service runs the Jenkins continuous integration system
			</description>
			<env name="JENKINS_HOME" value="D:\jenkins" />
			<executable>java</executable>
			<arguments>-Xrs -Xmx512m
			-Dhudson.lifecycle=hudson.lifecycle.WindowsServiceLifecycle
			-jar "%BASE%\jenkins.war" --httpPort=8081
			--ajp13Port=8010</arguments>
			</service>
Finally, if you need to uninstall the Jenkins service, you can do
one of two things. The simplest is to run the
Jenkins executable with
the
uninstall
option:
C:\jenkins>
			jenkins.exe uninstall
The other option is to use the Windows
service tool
sc
:
C:>
			sc delete jenkins